Battery switch on travel trailer function is crucial for managing your RV’s power. Understanding how these switches work—whether it’s a simple 1-2-both or a more complex system—is key to avoiding electrical issues and maximizing your camping experience. This guide breaks down the different types of switches, their operation, troubleshooting tips, and essential safety precautions. We’ll cover everything from basic functionality to more advanced maintenance and repairs, ensuring you’re confident in handling your travel trailer’s electrical system.
We’ll explore the inner workings of various battery switch types, detailing the electrical flow in each position. Visual aids and step-by-step instructions will make understanding your system a breeze. We’ll also address common problems, offering practical solutions and preventative maintenance advice to keep your battery switch running smoothly for years to come.
Battery Switch Functionality and Operation
Your travel trailer’s battery switch is a crucial component for managing your power sources. Understanding its operation is essential for preventing electrical problems and maximizing battery life. This section will detail how the switch works and the importance of using it correctly.
So, you’re planning a trip? Awesome! First things first: get travel insurance. Check out Aon travel insurance for solid coverage. Then, if you’re an audiophile like me, don’t forget your tunes! Seriously consider a portable setup – researching a good audiophile travel setup beforehand will save you headaches later. Having the right insurance and the perfect sound will make your journey way better.
Operating a typical travel trailer battery switch is straightforward. Most switches have three positions: “Off,” “Battery 1,” “Battery 2,” and sometimes a “Both” position. To select a battery, simply rotate the switch to the desired position. A clearly labeled switch will make this process even easier.
Electrical Flow in Different Switch Positions
When the switch is in the “Off” position, all power flow to the trailer’s electrical system from the batteries is interrupted. This is important for preventing accidental discharge of your batteries when the trailer isn’t in use. In the “Battery 1” position, only the power from Battery 1 feeds the trailer’s 12-volt system. Similarly, the “Battery 2” position only uses Battery 2.
If there’s a “Both” position, power from both Battery 1 and Battery 2 flows to the trailer’s electrical system, providing double the capacity.
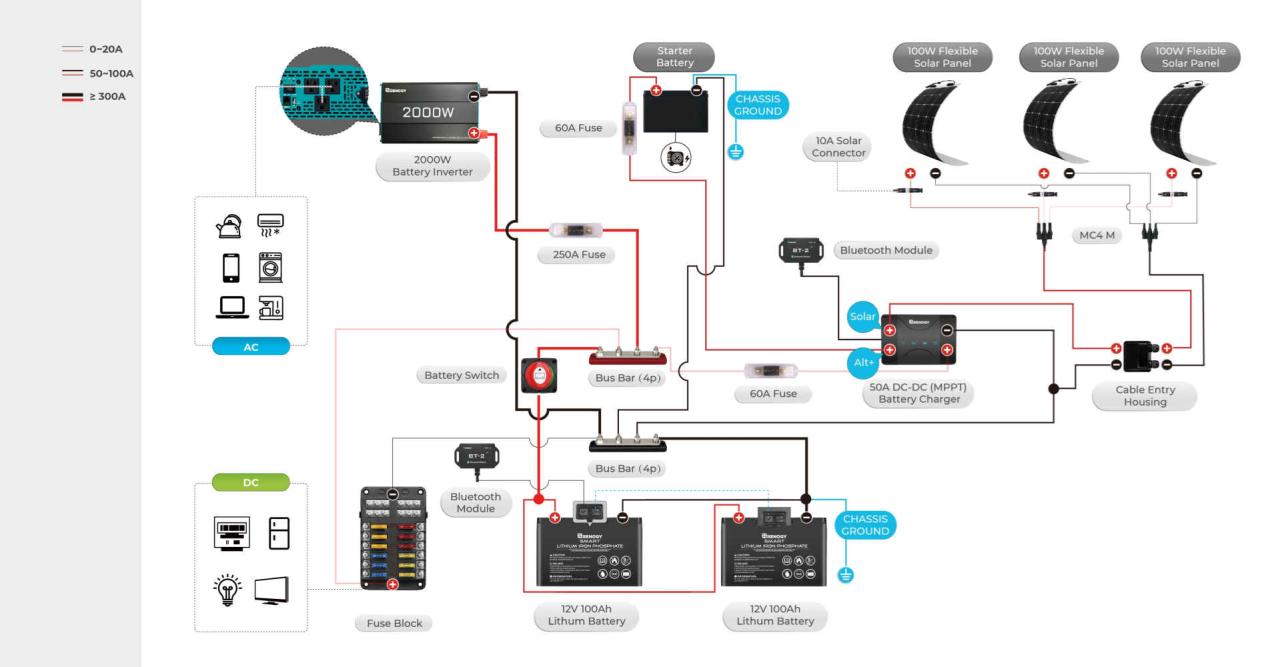
Diagram of a Travel Trailer Battery System
Imagine a simple diagram: Two battery icons (Battery 1 and Battery 2) are each connected to one side of a three-way switch. The other side of the switch connects to the positive (+) terminal of your trailer’s 12-volt system. The negative (-) terminals of both batteries are directly connected to the negative terminal of your trailer’s 12-volt system (this is usually a ground connection).
The switch itself acts as a selector, determining which battery (or both) provides power to the trailer. The “Off” position disconnects the batteries entirely from the trailer’s electrical system. This visual representation clearly shows how the switch controls the power flow from the batteries to the trailer.
Importance of Proper Switch Operation
Proper operation of the battery switch is critical for several reasons. Using the switch incorrectly can lead to unintended battery drain, premature battery failure, and potentially damage to your trailer’s electrical system. For example, leaving the switch in the “Both” position when not using the trailer can quickly drain both batteries. Conversely, using only one battery at a time allows for longer use and can help extend the life of your batteries by reducing the load on any single unit.
Regularly checking the battery switch position and understanding its function will help ensure the longevity of your batteries and prevent unexpected electrical issues.
Safety Considerations and Best Practices: Battery Switch On Travel Trailer Function

Working with your travel trailer’s electrical system, especially the battery, requires caution. Improper handling can lead to serious injury from electric shock, burns, or explosions from leaking battery acid. Following safety procedures is crucial for protecting yourself and your equipment.Proper maintenance extends the life of your battery system and prevents unexpected failures while on the road. Regular inspections and correct charging techniques are key to ensuring reliable power for your travel trailer.
So, you’re planning a trip? Awesome! First things first: get travel insurance. Seriously, check out Aon travel insurance – it’s a lifesaver. Then, if you’re an audiophile like me, don’t forget your tunes! Planning your audiophile travel setup beforehand is key for a relaxing journey. Make sure you pack your headphones and a good portable DAC; you’ll thank yourself later.
Battery System Maintenance
Maintaining your travel trailer’s battery system involves regular checks and proper charging. Neglecting these tasks can lead to premature battery failure, leaving you stranded without power. A properly maintained battery system ensures reliable operation of your appliances and accessories.
- Regularly inspect battery terminals for corrosion. Clean them with a wire brush and baking soda solution if needed.
- Check the battery electrolyte level (if applicable) and add distilled water if it’s low. Never use tap water.
- Use a multi-stage charger that provides a proper charging profile for your battery type (flooded lead-acid, AGM, lithium). Avoid overcharging, which can damage the battery.
- Store batteries in a cool, dry place when not in use. Fully charge them before long-term storage to prevent sulfation.
- Periodically test the battery voltage with a multimeter to ensure it’s holding a charge.
Safety Checklist for Battery Switch Inspection and Operation
Before interacting with the battery switch or any part of the electrical system, always take the necessary safety precautions. This checklist helps ensure a safe and efficient process.
- Turn off all appliances and electronics connected to the battery system.
- Wear safety glasses to protect your eyes from potential splashes of battery acid.
- Wear gloves to protect your hands from corrosion and acid.
- Ensure adequate ventilation to prevent the buildup of potentially explosive hydrogen gas from lead-acid batteries.
- Visually inspect the battery switch and wiring for any signs of damage or loose connections.
- Carefully operate the switch, ensuring it moves smoothly and makes a secure connection.
- After operating the switch, recheck all connections for security.
- Inspect the battery for any signs of damage, leaks, or swelling.
Hazards of Improper Battery Switch Usage and Mitigation, Battery switch on travel trailer function
Improper use of the battery switch can create several hazards. Understanding these risks and implementing appropriate safety measures is vital for preventing accidents.
- Electric Shock: Accidental contact with exposed wires or terminals while the system is energized can result in a severe electric shock. Always ensure the system is disconnected before working on it.
- Battery Acid Burns: Leaking battery acid can cause serious chemical burns. Wear appropriate protective gear, such as gloves and eye protection. If acid spills, neutralize it with baking soda and water, then clean thoroughly.
- Fire and Explosion: Hydrogen gas, a byproduct of battery charging, is highly flammable and can explode if ignited. Ensure adequate ventilation and avoid sparks or flames near the battery.
- System Damage: Incorrect switch operation can lead to short circuits, damaging the battery, wiring, or other electrical components. Always follow the proper operating procedure.
Battery Switch Installation and Replacement
Installing or replacing a battery switch in your travel trailer is a relatively straightforward task, but it’s crucial to prioritize safety and follow the correct procedures. This section will guide you through the process, regardless of the specific type of switch you’re working with. Remember to always disconnect the battery before starting any electrical work.
Proper installation ensures reliable power management and prevents potential electrical hazards. Different battery switches may have slightly different installation methods, but the overall principles remain the same. Understanding these principles will help you tackle the job confidently and safely.
Tools and Materials Required
Before beginning the installation, gather all the necessary tools and materials. Having everything ready will streamline the process and minimize interruptions.
- New battery switch (choose the appropriate amperage rating for your system)
- Screwdrivers (Phillips and flathead, appropriate sizes)
- Wire strippers/cutters
- Crimping tool (if using crimp connectors)
- Wire nuts or crimp connectors
- Electrical tape
- Wrench (size appropriate for the battery terminals and switch mounting hardware)
- Multimeter (to test connections and verify proper operation)
- Safety glasses
- Gloves
Installation Steps
The following steps provide a general guide. Specific steps might vary slightly depending on your travel trailer’s wiring and the type of battery switch you are installing.
- Disconnect the Battery: This is the most critical step. Disconnect both positive (+) and negative (-) battery terminals to prevent accidental shocks or short circuits.
- Locate the Existing Switch (if applicable): If replacing an existing switch, carefully note how the wires are connected. Take pictures if necessary.
- Prepare the New Switch: If your new switch requires mounting, secure it to a suitable location within your travel trailer, ensuring easy access. Consider using a sturdy mounting bracket.
- Connect the Wires: Carefully connect the wires to the new switch, matching the connections to the previous setup. Use wire nuts or crimp connectors for secure connections, and ensure proper insulation with electrical tape. Double-check all connections before proceeding.
- Test the Connections: Before reconnecting the battery, use a multimeter to verify the continuity and proper connections. Ensure that no wires are touching and that the connections are secure.
- Reconnect the Battery: Carefully reconnect the battery terminals. Begin with the negative (-) terminal, then connect the positive (+) terminal.
- Test the Switch: Turn the switch on and off, checking all connected appliances to ensure they are working correctly.
Installing Different Types of Battery Switches
While the basic installation steps remain similar, different battery switch types might have minor variations. For instance, a simple on/off switch will have a simpler wiring configuration compared to a more sophisticated switch with multiple banks or additional features. Always consult the manufacturer’s instructions provided with your specific switch for detailed guidance.
Some switches might require additional mounting hardware or specific wiring techniques. Pay close attention to the switch’s labeling and diagrams to ensure correct installation. Using the wrong type of switch can lead to malfunction or even damage to your electrical system.
Mastering your travel trailer’s battery switch is about more than just turning power on and off; it’s about understanding your RV’s electrical system and ensuring safe, reliable operation. By understanding the different switch types, troubleshooting common problems, and following safety best practices, you can prevent costly repairs and enjoy worry-free adventures. Remember, regular maintenance and careful operation are your best allies in keeping your travel trailer’s power system functioning flawlessly.
FAQ Corner
What happens if I accidentally leave the battery switch in the “both” position while driving?
Leaving the switch in the “both” position while driving isn’t inherently dangerous, but it can drain both batteries faster if your charging system isn’t robust enough. It’s best practice to switch to a single battery (usually the house battery) while driving to preserve your starting battery.
How often should I check my battery switch and connections?
Ideally, inspect your battery switch and connections at least once a year or before each extended camping trip. Look for corrosion, loose connections, and any signs of damage.
Can I use a different type of battery switch than the one originally installed?
While you can often replace a switch with a similar type, it’s essential to ensure the new switch is compatible with your RV’s wiring and amperage requirements. Consult your RV’s manual or a qualified electrician if you’re unsure.
My battery switch is making a clicking noise. What’s wrong?
A clicking noise often indicates a faulty switch, low battery voltage, or a problem with the wiring. Check your battery voltage and fuses first. If the problem persists, the switch likely needs replacement.
